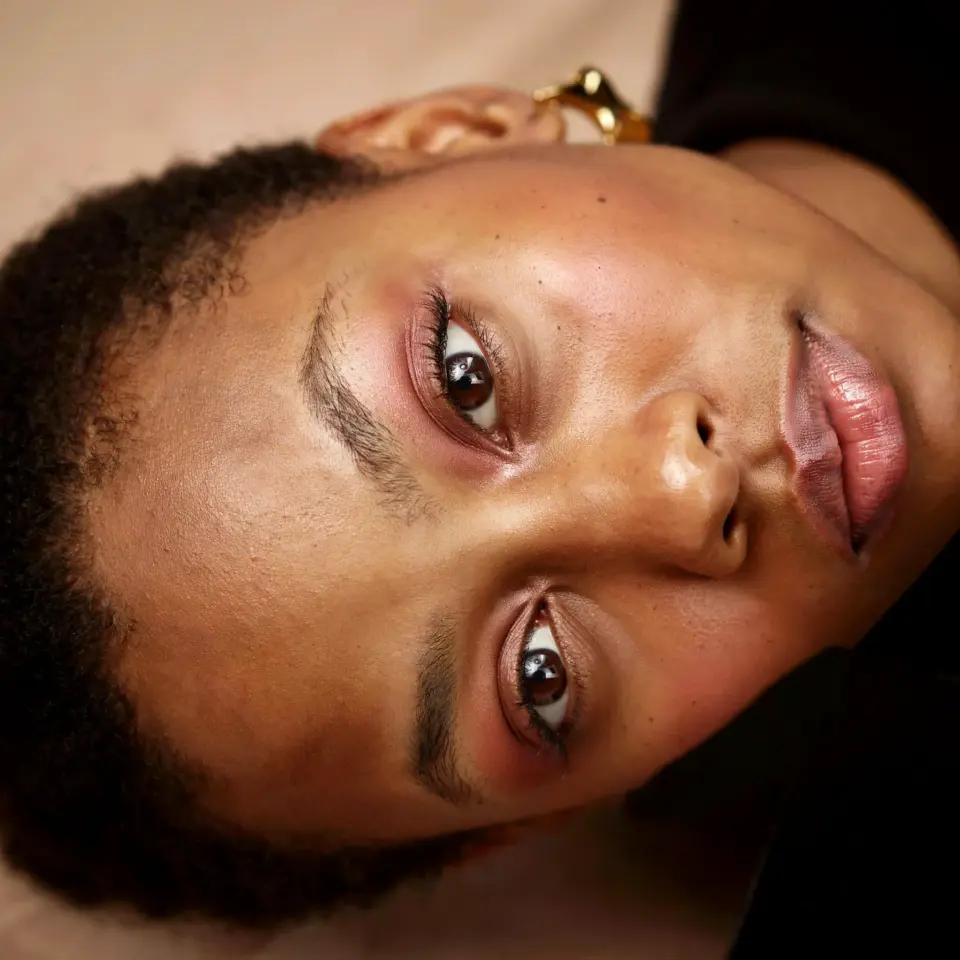
I used to think bold makeup styles were for people with steadier hands and bigger wallets. Not gonna lie, I spent years sticking to the same nude lip and basic mascara because anything louder felt like a risk I couldn’t afford. But here’s the thing: you don’t need a pro kit or a hundred-dollar foundation to pull off a dramatic eye or a bright lip. I’ve been testing graphic liner and neon-ish shades on a drugstore budget for the past few months, and honestly, it’s way more forgiving than the internet makes it look. The trick is to start small, mess up a lot, and keep your total cost under twenty bucks per experiment.
Why One Feature at a Time Saves You Money and Sanity
Ok so the biggest mistake people make with bold makeup is trying everything at once. A smoky eye, a firetruck red lip, glitter everywhere, that’s a recipe for a bad day and a return to your comfort zone. Instead, pick one thing. Maybe it’s just the eyes. Maybe it’s just the lips. You save money because you only buy one new product at a time, and you save your confidence because you only have to practice one skill.
Look, I’ve ruined more eyeliner looks than I’ve nailed. But each fail taught me something specific about pressure, angle, and product consistency. And because I only bought a $5 liner to start, I didn’t feel guilty tossing it after a few ugly attempts. Start with a single bold move. Your bank account will thank you.
Graphic Liner Without the Glam Price Tag
Graphic liner sounds intimidating, and yeah, the first time I tried a winged cat eye I looked like I’d been attacked by a marker. But here’s what nobody tells you: you can practice with a cheap felt-tip liner and a damp Q-tip. Seriously. I use a $4 liquid liner from the drugstore (the kind with a super fine tip) and a cotton swab dipped in micellar water to clean up edges. It’s not cheating, it’s being smart.
My go-to trick for a simple graphic look: draw a thick wing, then connect it to the outer corner of my lower lash line. That’s it. No complex geometry. If I mess up, I wipe the blunder away with the Q-tip and try again. The cheap liner dries fast but smudges enough to be fixable. That’s the sweet spot.
- Buy one felt-tip liner under $6. Don’t splurge on fancy brands yet.
- Keep wet Q-tips handy. They erase mistakes without ruining your whole face.
- Practice on your hand first. Seriously, the skin on your arm is a no-pressure testing ground.
- Try a simple double line (one above, one below) before attempting a floating crease.
Bright Lips That Don’t Bleed or Cost a Fortune
Bright lips are easier than dramatic eyes because they involve less precision. But they also show every crack and dry patch, which is annoying. I used to think I needed a $30 liquid lipstick to get that Instagram-perfect pout. Nope. A $3 lip liner and a $5 bullet lipstick do the job, especially if you exfoliate with a damp washcloth and a little sugar beforehand.
Here’s my weird trick: I apply the liner all over my lips first, like a base. Then I blot it with a tissue, then add the lipstick on top. It stays for hours, even through coffee. My favorite budget bright is a matte coral that costs me $5.29 at the local drugstore. It’s not influencer-approved, but it makes me feel powerful. And honestly, that’s the whole point of bold makeup, isn’t it?
One hyper-specific detail: I once bought a neon pink that looked amazing in the tube but turned my lips into a neon sign that clashed with my skin tone. I learned to swatch on my inner arm next to my face in natural light, not under those harsh store bulbs. That mistake cost me $4, but it taught me a $40 lesson.
Blending Without Fancy Brushes (Yes, Really)
You don’t need a twelve-brush set to blend a bold eye. I own exactly two eye brushes: a fluff blender and a flat shader. Both were bought in a duo for $8. The rest of the work is done with my fingers. Not gonna lie, fingers are often better for packing on pigment and warming up product. For bright lips, I use my pinky to blur the edges. For eyeshadow, I tap the crease color with my ring finger. It’s free and it works.
The real challenge is knowing when to stop blending. Over-blending turns a sharp graphic line into a muddy mess. So here’s my rule: blend for no more than ten seconds per section. If it still looks harsh, add a tiny bit of translucent powder on a brush and sweep gently. That softens without destroying your work.
The Practice Makes Perfect Mindset (And a $2 Tool That Helps)
I’m not naturally good at makeup. My hands shake, my eyes water, and I have zero patience. But I committed to practicing one bold look per week, and I used a cheap reusable makeup stencil set I found at a discount store for $2. That stencil let me trace winged liner shapes without panic. After a few weeks, I didn’t need it anymore. It’s like training wheels for your face.
Also, and this is a little embarrassing, I take photos of my bad attempts. Not for social media, for myself. I scroll through them and laugh at the lopsided wings and clownish lips. It reminds me that every pro was once a beginner with a smudgy mess. So don’t be afraid to suck. Sucking is part of learning, and it costs nothing.
My Go-To Affordable Bold Look for Nights Out
If you want a specific recipe, here’s mine: I use a black felt-tip liner to draw a thick wing that tapers into a sharp point. Then I add a thin line along my lower lash line and smudge it slightly with a Q-tip. On my lips, I wear a matte raspberry shade that cost me $4.99. That’s it. The whole look takes under ten minutes and uses two products plus the Q-tip. Total cost of the two products? Under ten bucks.
I don’t bother with primer or setting spray because my skin is oily enough to hold pigment anyway (that’s a weird personal perk). If I’m feeling extra, I dab a tiny bit of Vaseline on my cheekbones for a subtle highlight. Vaseline is $2 and lasts forever. You don’t need highlighter palettes.
Owning Your Makeup Aesthetic on a Budget
The whole idea of a “makeup aesthetic” can feel exclusive when you see influencers using fifty products in one video. But your aesthetic is just the sum of what makes you feel confident. For me, it’s a sharp line and a loud lip, both bought with pocket change. For you, it might be a cobalt blue graphic swoop or a sunny yellow lip. The price tag doesn’t define the look.
So grab a cheap liner, a bright lipstick, and a pack of Q-tips. Practice on a Tuesday night when nobody’s watching. Mess up, take a photo, laugh, and try again. That’s how bold makeup styles actually become part of your routine, not just a Pinterest fantasy. Save this for your next glam attempt and tag me so I can see what you create. 🖤
#boldmakeup #graphicliner #dramaticeyes #brightlips #makeupaesthetic
Leave a Comment